Electricity can feel like an invisible force of nature, powerful enough to energize your home or, if mishandled, create risks. In a world increasingly reliant on smart technology, understanding how to install a smart switch safely is as essential as knowing the basics of any other fixture. Often, the anxiety surrounding electrical work stems from the fear of mistakes. Yet, with the right guidance, safe smart switch wiring becomes a manageable task that empowers rather than intimidates.
Not long ago, controlling lights with a smartphone app felt like science fiction. Today, smart switches transform homes globally, enhancing efficiency and convenience. Whether you’re a beginner or a DIY enthusiast, learning to wire smart switches with care is key. This guide explains essential steps and practices to approach wiring safely, turning what seems daunting into a rewarding experience.
Understanding Smart Switches and Their Benefits
Smart switches enable control of lighting, fans, or devices via voice commands, apps, or schedules. Unlike traditional switches, they integrate seamlessly with platforms like Alexa, Google Assistant, or Apple HomeKit. They track energy use, allow remote operation, and activate automated routines. For example, they can dim lights at sunset or simulate occupancy while you’re away.
Smart switches reduce clutter by replacing multiple remotes and panels. They also future-proof your home as connected devices expand. Safe smart switch wiring ensures reliable performance, minimizes hazards, and extends device lifespan. For added benefits, you can explore our services for professional support.
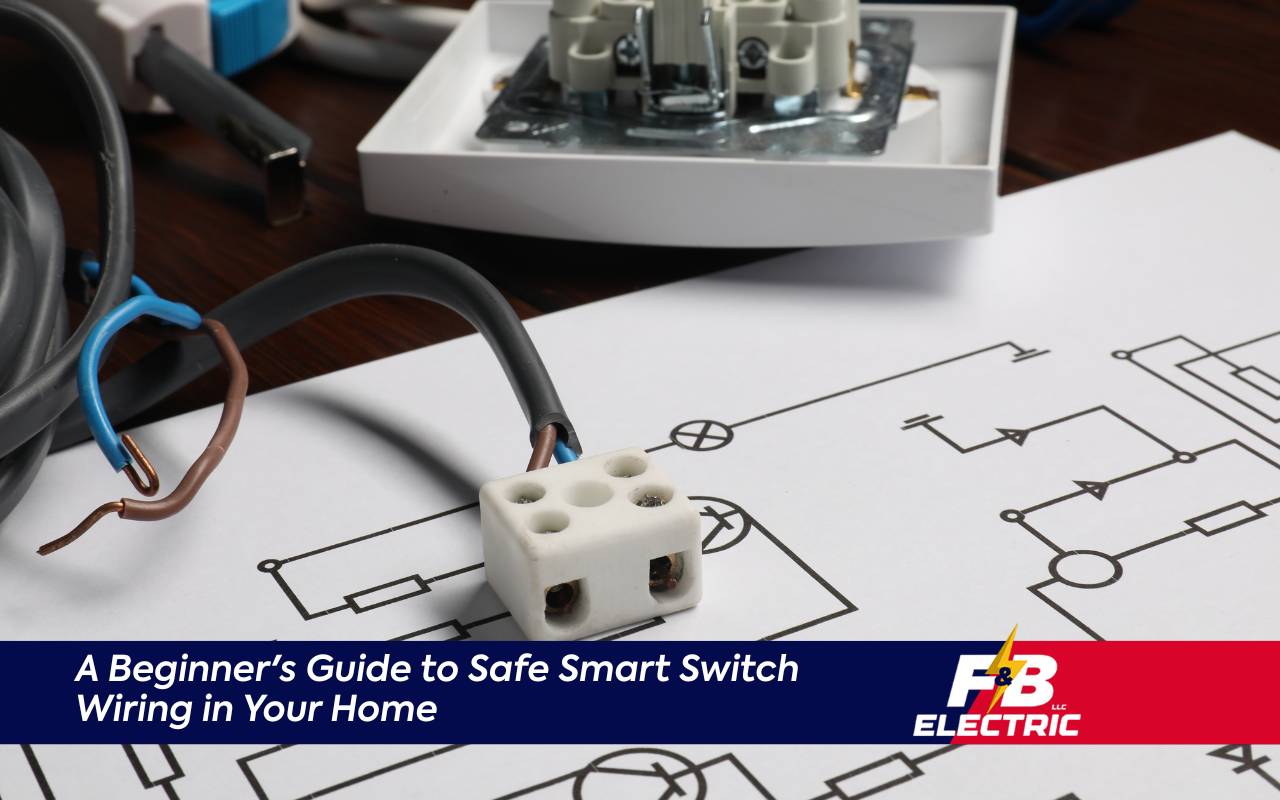
Essential Tools and Materials for Safe Wiring
- Non-contact voltage tester to verify circuits
- Wire stripper for precise conductor removal
- Insulated screwdrivers for connections
- Needle-nose pliers for tight spaces
- Wire nuts or connectors rated for your gauge
- Electrical tape and replacement wall plate
High-quality tools and materials are crucial for success. Spare connectors are always recommended. Prioritizing safe smart switch wiring starts with the right equipment, reducing installation risks.
Turning Off Power: Ensuring Your Safety First
Always power down the circuit before touching wires. Identify the correct breaker, flip it to “off,” and verify with a tester. If voltage remains, shut off the main supply. A lockout/tagout device prevents accidental re-energizing. Safety glasses and insulated gloves add extra protection. Following these steps ensures every safe smart switch wiring project begins without unnecessary danger.
Mapping Out Your Existing Switch Setup
Before disconnecting wires, photograph or label your setup. Identify line (hot), load, neutral, and ground conductors. Mark each with colored tape for easier reconnection. Confirm whether you have a single-pole, three-way, or multi-gang configuration. This step prevents costly errors and prepares you for accurate installation.
Wiring a Single-Pole Smart Switch: Step-by-Step Guide
- Strip insulation from each wire.
- Connect the hot line to the “Line” terminal.
- Attach the load conductor to the “Load” terminal.
- Join the switch’s neutral to the neutral bundle.
- Secure the ground wire to the grounding screw.
After wiring, reinstall the wall plate, restore power, and connect through the manufacturer’s app. Your safe smart switch wiring process is nearly complete with these steps.
Wiring a Three-Way Smart Switch System
Three-way setups allow fixture control from two spots, often hallways or stairs. Install the master switch where the line is present, connecting line, load, neutral, and traveler wires. Connect traveler wires between master and auxiliary switches, and ground both. Finally, restore power and pair devices using the companion app. This ensures reliable dual-point control.
Troubleshooting Common Smart Switch Installation Issues
If the switch doesn’t power on, confirm the breaker is active and recheck connections. Loose wires can prevent operation. If app pairing fails, verify Wi-Fi compatibility, often requiring 2.4 GHz. Resetting the switch and retrying can resolve issues. Flickering may mean incompatible bulbs; most switches work best with dimmable LEDs or incandescent bulbs.
Testing Your Smart Switch Before Use
Once installed, test the switch physically and via the app. Ensure reliable on/off commands, dimming, and automation triggers. Test voice control if connected to Alexa or Google Assistant. Check indicator LEDs for status or errors. These steps validate successful safe smart switch wiring before daily use.
Smart Switch Wiring Best Practices and Safety Tips
- Follow local code requirements and consult an electrician if unsure.
- Label breakers and switches for future reference.
- Use rated connectors and avoid mixing cable types.
- Maintain separation between line and low-voltage wires.
- Store diagrams and configuration notes for later reference.
Check connections after six months to ensure stability. Following these practices protects your home and ensures safe smart switch wiring. For personalized help, contact us directly through our contact page.
FAQs
Do I need a neutral wire for all smart switches?
Most require a neutral, but some models work without one. Always check manufacturer instructions.
Can I install a smart switch without electrical experience?
It’s possible for simple setups, but professional help is recommended for complex wiring.
Why is my smart switch not connecting to Wi-Fi?
Many devices require a 2.4 GHz network. Check compatibility and reset if needed.
Are smart switches safe for older homes?
Yes, but confirm wiring meets code. An electrician can help adapt outdated systems.
What should I do if my lights flicker?
Switches may not support certain bulbs. Use dimmable LEDs or check compatibility lists.
Embracing Smart Switches in Your Home
Upgrading to smart lighting boosts convenience and efficiency. With planning and care, safe smart switch wiring integrates smoothly into daily life. Explore our electrical services columbia md to achieve reliable, safe installations that enhance your home.