In today’s modern living, integrating technology into our homes has become essential. If you’ve dreamed of controlling lights with your voice or smartphone, the journey starts here. A reliable Smart light switch installation guide helps you achieve intelligent lighting with confidence and safety. With the right steps, even DIY beginners can succeed while enjoying convenience and efficiency. For those in Columbia, balancing DIY with expert help may be the perfect solution. Explore how to make your home smarter and more efficient by following this structured approach.
Understanding Smart Switch Technology
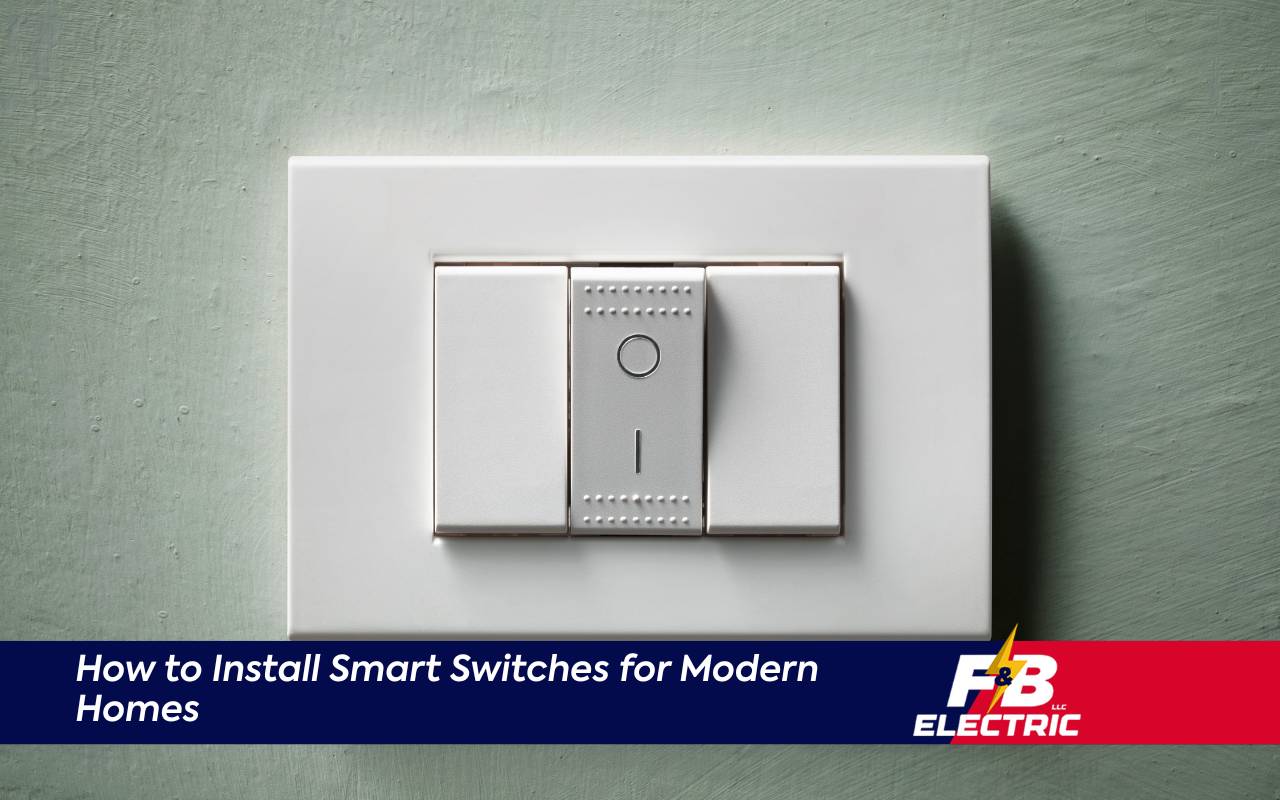
Smart switches are more than simple toggles. They act as gateways to a connected home. With IoT-enabled devices, you can schedule lights, dim brightness, and even use voice commands. Most operate through Wi-Fi, Zigbee, or Z-Wave. Understanding these basics prepares you to follow a detailed Smart light switch installation guide. Beyond convenience, these devices enhance energy savings and home security. Simulated occupancy while away, or integration with cameras and thermostats, increases both safety and comfort.
Tools and Materials Required for Installation
- Screwdrivers (flathead and Phillips)
- Non-contact voltage tester
- Wire strippers and needle-nose pliers
- Level, electrical tape, and wire nuts
- Smart switch modules compatible with your hub
- Utility knife and ladder
Preparing tools and materials ensures smooth installation. Having everything ready avoids delays. This planning step is vital for any Smart light switch installation guide.
Assessing Compatibility with Your Home’s Wiring
Homes vary in wiring setups. Many smart switches require a neutral wire, missing in older houses. Turn off the breaker, remove the old switch, and inspect wiring. If only two wires are present, consider a no-neutral switch or consult an electrician. In multi-location setups, ensure your smart switch supports three-way wiring. Proper compatibility checks prevent costly mistakes and ensure your installation follows the Smart light switch installation guide correctly.
Turning Off Power Safely Before Installation
- Locate and switch off the correct breaker.
- Use a voltage tester to confirm no current is present.
- Label the breaker to prevent accidental reactivation.
Safety must always come first. Cutting power at the source avoids risks. Always double-check before continuing.
Removing Existing Switches and Preparing for Installation
After ensuring safety, remove the old switch carefully. Document wire placement with photos or notes. Inspect the wall box and clean debris. If too shallow, add an extender. Preparation makes following the Smart light switch installation guide faster and safer.
Connecting and Mounting Your Smart Switch
- Connect the neutral wire to the box’s neutral bundle.
- Attach the line wire to the hot lead.
- Link the load terminal to the light fixture wire.
- Secure the ground wire.
Push wires back carefully, mount the switch, and align it using a level. Once secured, install the decorative faceplate. Turn on power briefly to confirm alignment before final tightening.
Testing the Smart Switch Functionality
Once mounted, restore power at the breaker. Test manual toggle first. Next, connect to your app or automation hub. Ensure Wi-Fi pairing works smoothly. Voice commands, dimming, and schedules should function properly. A thorough test validates every step of this Smart light switch installation guide.
Troubleshooting Common Installation Issues
If the switch fails, check breaker, wiring, or connectivity. Ensure wire nuts are tight and router settings are correct. Many smart switches require 2.4 GHz Wi-Fi. For flickering, confirm proper wire gauge. Update firmware if drops continue. Troubleshooting keeps your system stable and reliable.
FAQs about Smart Switch Installation
Do I need a neutral wire for every smart switch?
Most smart switches require one, but some models work without it. Always check product specifications.
Can I install a smart switch without professional help?
Yes, many homeowners succeed. However, complex wiring may require a professional.
Will smart switches work with my existing bulbs?
Most are compatible with LED, CFL, and incandescent bulbs. Check manufacturer recommendations for best results.
How do smart switches connect to Wi-Fi?
They typically use the 2.4 GHz band. Pair them through the app and follow setup instructions.
Can I control multiple switches from one app?
Yes, most apps allow you to group devices for centralized control and automation.
When to Consult a Smart Switch Electrician
Sometimes, professional help is necessary. If your wiring lacks a neutral wire or your home uses older systems, call an expert. Residents in Columbia can trust licensed electricians to handle complex jobs. For professional support, explore our electrical services in Columbia. For other solutions, visit our services page. If you need personalized help, reach out via our contact page.
Enjoying the Benefits of Smart Lighting
By following this Smart light switch installation guide, you’ve turned a regular switch into a smart solution. The process enhances convenience, energy efficiency, and security. From scheduling to voice control, you now enjoy a modern lifestyle. Embrace smart lighting and experience a home that adapts to your needs effortlessly.